Skip to content
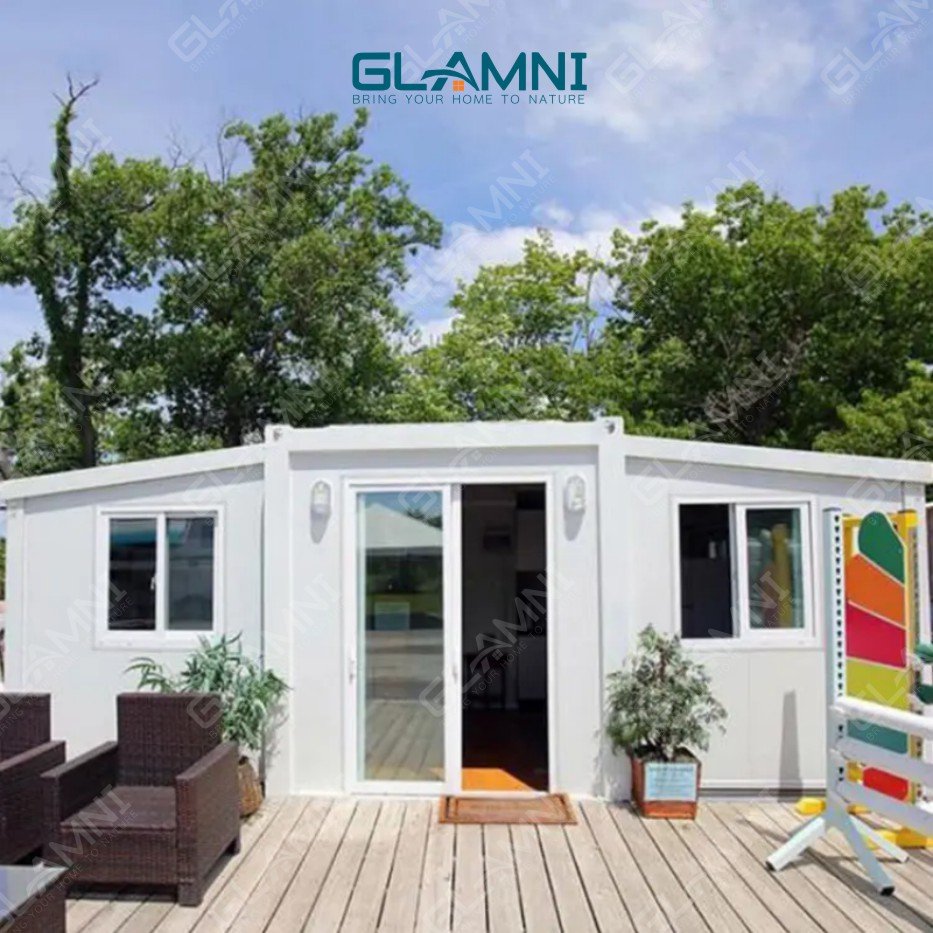
Expandable container houses may look simple, yet they hold a smart design idea inside. These houses fold compactly for transport and then expand into a complete living space. It’s one of the most practical and smartest housing options for modern living. Therefore, the way they expand and lock deserves your attention. Every joint, hinge and seal matters. Because it defines durability and safety.
This article shares the main expansion methods, how the parts lock in place and what steps you take to deploy the unit.
Expansion methods for expandable container houses
You have a few ways to add space.
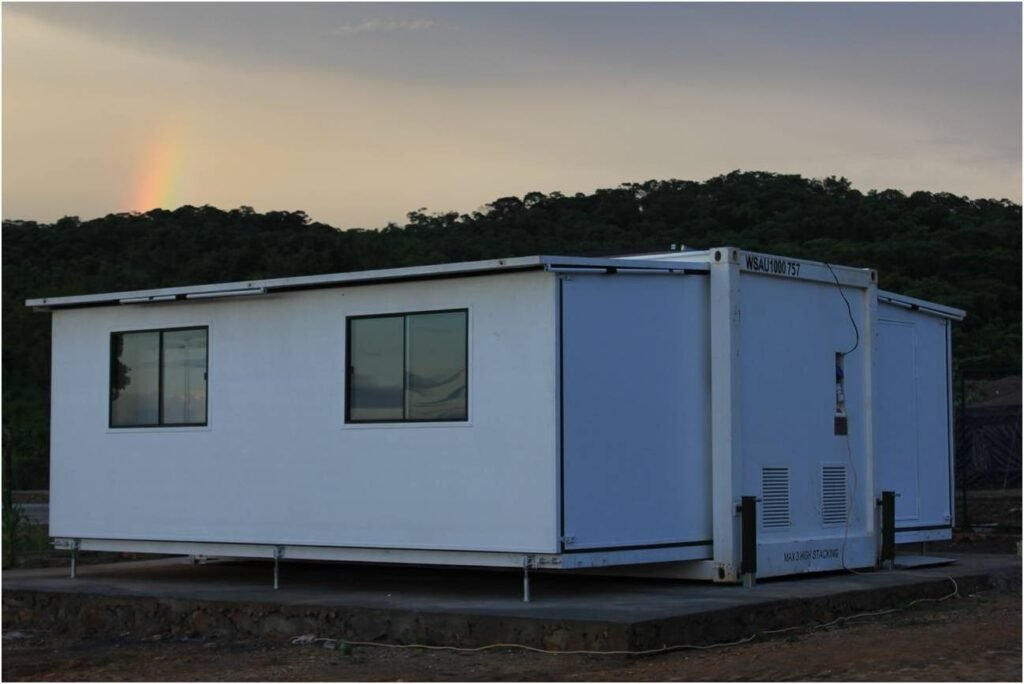
The most common is single-side expansion. You just need to slide out or fold out one wall of the container, much like extending a drawer. This basically opens up one side of the unit while the other side stays in place. Single-side expansion works best if your site has room on only one side or if you want a simple layout. This still gives a lot of extra floor area.
Another option is double-side expansion. In this case, you expand both the left and right sides simultaneously. This roughly doubles the width of the unit and maximizes the usable area inside. You have to slide out two opposite walls instead of one. Double-side expansion is best fit when you have space on both sides of the container and want a very balanced interior.
A third method is roof-lift expansion (sometimes called “top-up” expansion). In this, you just keep the floor footprint the same but you can raise the roof up by a meter or so. You basically need to use hydraulic rams or screws to lift the entire roof section. This increases the interior volume and ceiling height without making the house wider. Top-up expansion is very useful when you need extra headroom but the site is too narrow for side extensions.
How to choose:
You need to pick the method based on your site and needs.
First, look at the available width and height at your location. If only one side has clearance, go with single-side. If both sides are clear, double-side gives more moderate space.If the site is width-limited but you can lift vertically (and local rules allow), then choose roof-lift to add height.
Also think of how much floor area you need inside. Double-side or multi-wing gives the most area, while single-side adds a moderate increase. Moreover, remember transport limits, too: all options collapse to standard container dimensions for shipping. Finally, match the house layout to the method: extend walls where you plan your bedrooms or living space.
How units lock and seal after opening
Once you unfold the house, you must lock the parts securely. First, you have to attach the extended panels to the steel frame with strong hinges and latches. Most of the designs have stainless steel hinge brackets or pins to connect each moving panel. These heavy duty hinges hold the walls firmly to the main frame. You need to push the wall out until the built-in locking pins snap in with an audible click. These pins make sure that panel stays in position.
The side joints between panels are basically made with precision. When each side wall is in place, its edge fits tightly against the fixed frame. This design makes the joints seal by themselves, so you don’t need to apply any extra sealant along the vertical edges. Therefore, panels essentially compress together and hold water out. In test reports, these expanded units always meet tight waterproofing standards, using multiple rubber seals and compression gaskets.
Moreover, roof joints/connections need special treatment. Like, after unfolding the roof section, you have to apply a continuous bead of sealant along each roof lap and cover it with trim. This creates a weatherproof roofline. Actually, this means well-made units use overlapping roof panels and trims, plus durable rubber seals. Thus, all these block rain even in heavy weather.
Together all above steps, the hinges, latches, and seals make a leak-proof system. Also, many factories provide detailed drawings and test reports on request. So you can verify that the house is wind and watertight.

Quick deployment steps
- Position and level the unit:
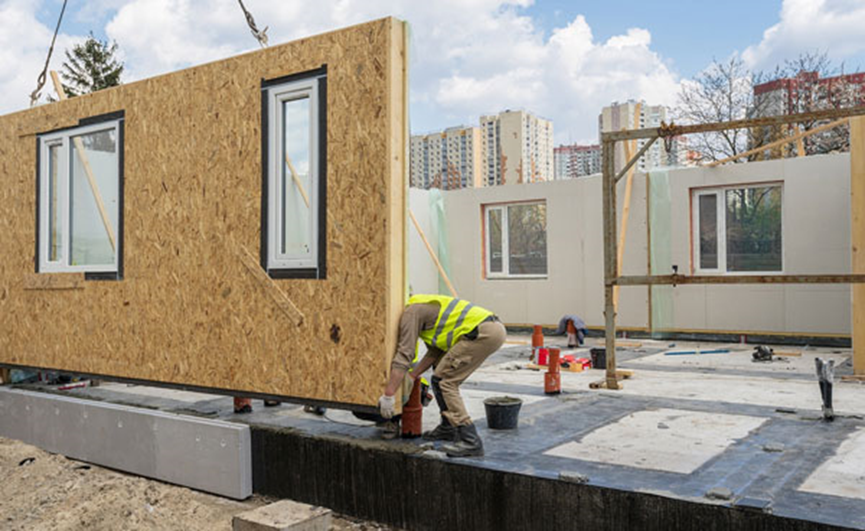
First, you need to use a forklift or crane to place the container on a flat plus stable spot. And make sure the landing area is clear and level. Also, confirm that you have enough side clearance and overhead space for the expansion.
- Release shipping locks:
If the unit has transport latches or bolts, then unlock those first. This frees the movable parts.
- Extend the panels or roof:
For single or double expansions, slide out the wall panels. Push them outward; they should slide on rails or pivot on hinges. And extend until each locking pin clicks into place.
For roof lift models, use the pump or screw to raise the roof. Plus make sure to lift slowly and evenly until the roof lock engages.
- Engage latches and fasteners:
After extension, lock all built in latches, screws or pins. And tighten any bolts to lock the panels in position. Plus, check that the walls are square and flush against the main frame. Like, follow any color-coded handles or marked points on the unit to ensure proper alignment and secure locking.
- Seal and test joints:
Lastly, apply any additional sealant along the roof seams and snap on cover trims. You can then perform a quick water test: spray water on the roof seams and side joints. And look for any leaks. Everything should stay dry.
Using these steps, you transform the folded container into a finished room. In fact, this entire process is very fast. Many suppliers advertise that a trained team can complete deployment in about 10–30 minutes.

Setup time and crew
How long it takes and who does it, both depends on the model and site conditions. Normally, only a small crew is needed. But your quote should confirm the expected setup time and crew size.
Moreover, the equipment is simple. Like, crew mostly need hand tools (wrenches, screwdrivers) and either a forklift or small crane to place the unit. And once set, most of the work is manual (sliding panels and turning latches).
Maintenance after deployment
After you open the unit, some periodic checks keep it in good shape.
First, you have to inspect the roof sealant and trim after the first rainfall. Means look for any cracks or gaps in the caulk. You can also check the trim clips and reseal if needed.
Next, check all the moving hardware. You have to inspect the hinge bolts, locking pins and screws for tightness. This is a good practice to look over these parts after any heavy transport or major weather. Like, this is a recommendation to check moving components every 6-12 months. This will catch wear on the hinges or latches.
Finally, keep a simple inspection log. Note the date and outcome of each inspection. A record helps you see patterns (for example, if a certain joint always needs a touch-up).
Buyer checklist
- Choose the right expansion type: Look at your site and needs, then pick single-side, double-side or roof-lift expansion.
- Clarify inclusions vs options: Confirm what the base price covers. Like, hinges, locks, sealant, trims or any interior furnishings (kitchen, bath, etc). And note which items cost extra.
- Request drawings and details: Get the construction drawings, waterproofing details and any test certificates. You may have to review how the unit seals and locks. A good supplier always shows you engineering drawings and maybe even waterproofing test reports.
- Confirm site clearances and lift plan: Make sure your site has the clearance needed for the chosen method (e.g. side setback or headroom). And ensure your quote accounts for any lift/crane needed to place the container. Plus verify the expected crew time is included. And clarify transport dimensions so you can avoid road permit issues.
This checklist helps you in comparing vendors. This also makes sure you know exactly what comes with the house.
FAQs
Will joints leak after opening?
Not usually. These containers use the side joints that fit tightly plus the roof seams are sealed and trimmed for waterproofing. This means you should not expect leakage at the joints if everything is installed correctly.
Do I need sealant on the sides?
No. The design seals the sides internally. Once you lock the panels in place, the side joints close by themselves. Only the roof connections need extra sealant.
Can I increase interior height without widening the unit?
Yes. For this, you have to choose the roof-lift (top-up) option. This raises the ceiling to add headroom while keeping the same footprint.
Conclusion
You have read how expandable container houses unfold and lock into place. You simply have to position the unit, extend its sections, latch everything securely and seal the seams. And your elegant, strong and weatherproof unit is ready for living or working.
If you need an expandable container that’s fast and made just for your needs, contact Glamni’s team today.